You can often find SX-70 cameras with a broken door latch pin. Their film door cannot be locked anymore.
You can tape the film door shut at the sides of the camera body and continue using the camera.
The proper repair would be to replace the defective door latch.
The latch usually breaks when the camera is dropped, therefore you should check if the camera works
(by shooting film with the door taped) before you repair it. It would be frustrating to do go through
this only to find out a mirror is broken or the electronics are dead.
Tools
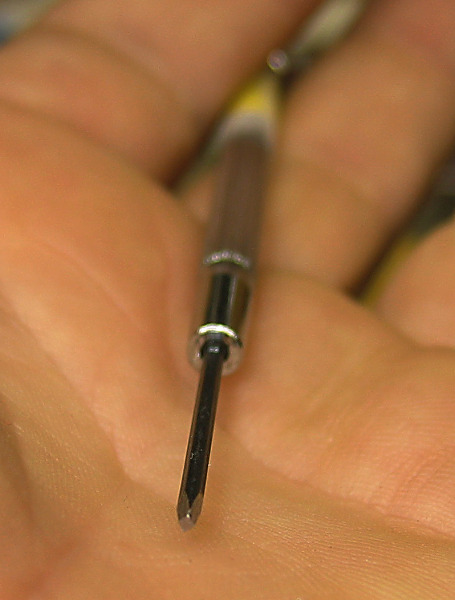
You will need a special screwdriver to remove, some screws. Early SX-70s (like all leather Model 1 ones) have screws with a proprietary square indentation.
I don't know who sells screwdrivers for these but you can file a jewellers screwdriver
to a square tip. Don't try to open those screws with a blade- or Phillips screwdriver!
They are quite soft and you may have to drill them out once they have a round indentation where the square one was. Later Models have T4 screws. Most Torx driver sets start at size T5 but good tool shops have all Torx sizes.
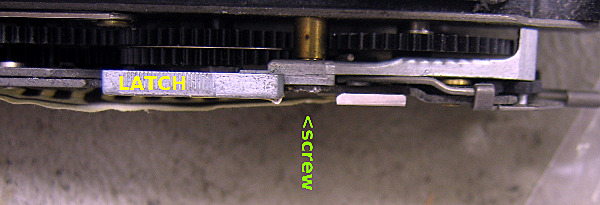
You can check the screw type by looking at the rear side of the shutter unit when the camera is unfolded.
You will also need a blade to peel off the corners of the leathering at the bottom of the camera.
Remove the film door
Open the door and push the hinges inward to unhook them and remove the door/roller assembly.
Remove the bottom shell
This step will probably leave some scars on your camera.
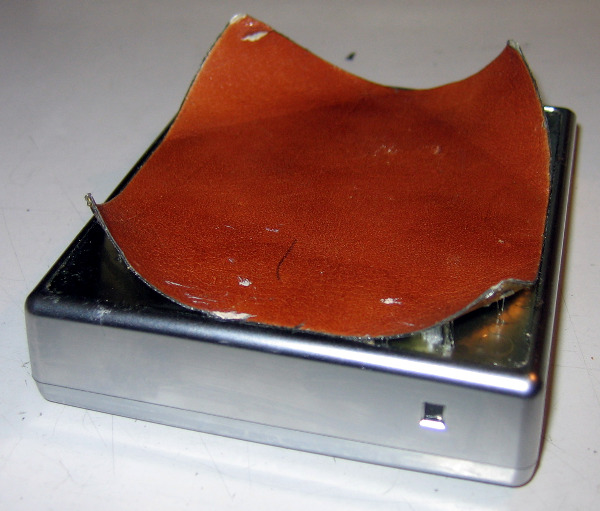
Peel back the leather at each corner of the bottom shell until you find a screw.
The leather of the Model 1 has a aluninium sheet backing which must be peeled with the leather.
Try not to bend the aluminium too much if you would like to glue it back in place later.
Other models have various types of cover materials some of which are difficult or impossible to peel off in one piece.
In those cases it may be better to feel where the screw holes are and remove the cover material locally.
Note that there are more holes in the shell than those with the screws.
Remove screws with an appropriate screwdriver. Remove bottom shell.
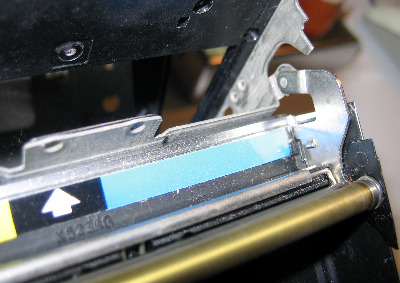
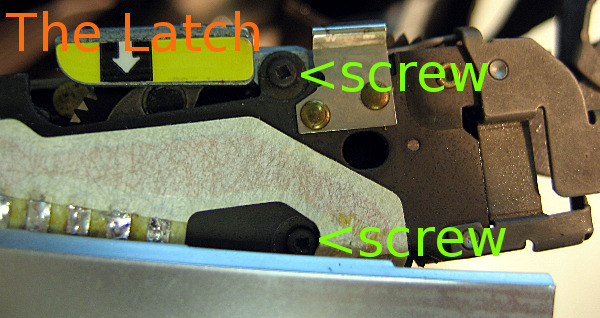
Remove the latch
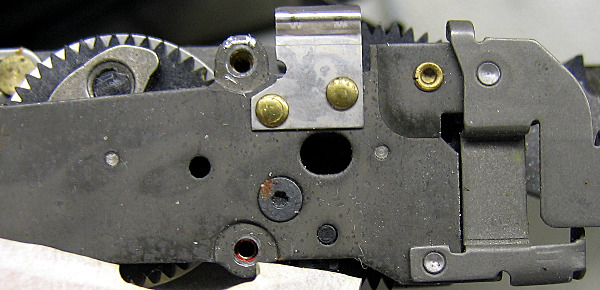
The film door latch sits at the righthand front side next to the gear train.
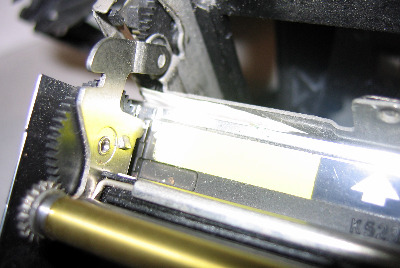
remove the first screw.
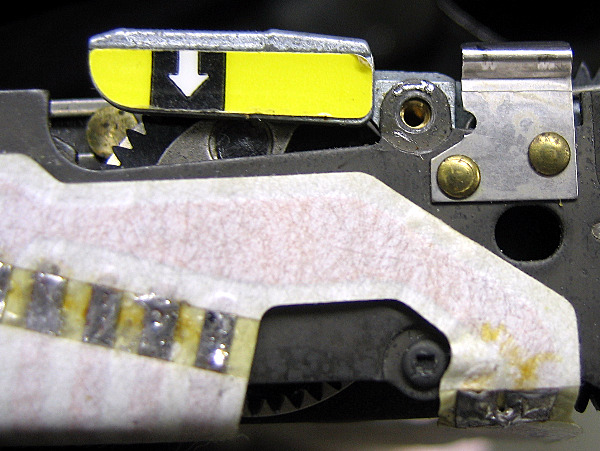
The latch in place seen from above.
remove the second screw.
Pull the front of the front plate (where the screws were) carefully outward - just enough to slip the latch with its spring out of its bearing.
The gears and switches should remain in place.
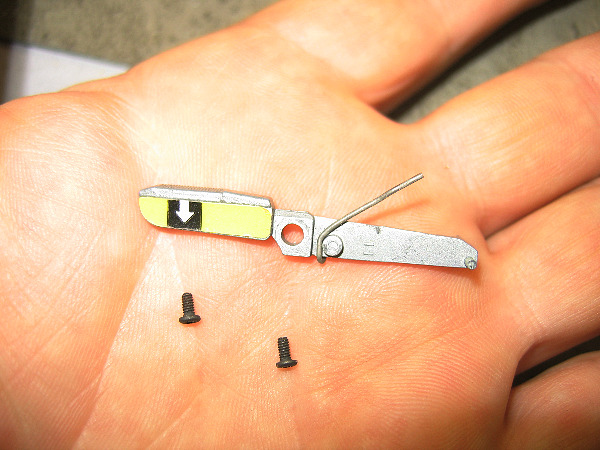
The latch removed.
Mount the new latch and close camera in reverse order.
Here are illustrated instructions from Polaroid describing the same procedure:(Click for full size)
PLEASE NOTE:
Don't hold me responsible for the damage you do to your camera following this description.